Thank you for downloading the Elementor Pro SendFox Addon plugin. We have some steps we need to do to get this working within your WordPress Elementor installation. Minimum requirements can be found here.
This only works with the additional Elementor Pro addon. Due to changes in Elementor Pro plans, you now require Advanced Solo, Advanced, or Expert. The Essential plan does not allow form submissions or email marketing integrations.
(We assume that you are familiar with setting up WordPress plugins and also Elementor)
Updated May 31st, 2025 due to Elementor Pro Plans dependency
Initial Setup #
- Install the plugin. (For help on plugin management and installations)
- You will need to get a SendFox API Token from here. (How to get the API Token)
- The new token will only be shown once. Copy and paste it somewhere safe, like a password manager. It is also a very long token!
- To set up the plugin, navigate to the Elementor Pro settings page. (Elementor/Settings). Then click on the “Integration tab.
- Scroll down to find the “SendFox Addon”

- Paste the very long API Token into the empty text box. It will fit!
- If you want to be notified on a submission failure (such as if your API Token expires, it does happen!) then check the “Send email to site admin on plugin failure”.
- We recommend you enable this, as SendFox does expire the token after a few months.
- Click on the “Validate API Key” button. This will contact SendFox and validate the API Token. If all is good, a message will appear confirming success.
Individual Form Setup #
SendFox can only accept the Email Address, First Name and Last Name. It requires an email address as a minimum. We add any SendFox list you wish to add to the contact in step 4.
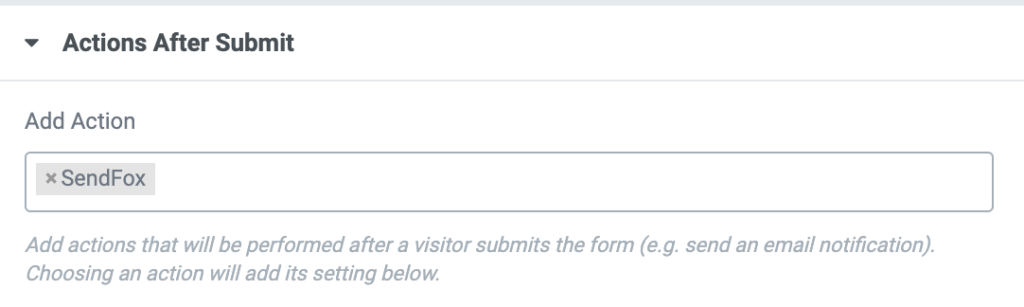
- Before designing the form (or if adding to an existing form), click the form to open the “Edit Form” on the left. You will need to be working on the “Contents” tab. Scroll down looking for the “Actions After Submit”. Click in the small box and you will see a list of actions. Scroll and select “SendFox”. Once this is complete, a section labeled “SendFox” will appear below.
- When you are creating or editing your form, you will need at least an “email” field to add to the form. In the “SendFox” section, you will select the list you want to add the contact to.
- IMPORTANT (1st March 2021). Due to the new Elementor Pro 3.1 version, the method for mapping form fields to SendFox fields changed. Mapping is done using the ADVANCED tab in Form Fields. At a minimum, you need the email field mapped.
- Save and then add the form to your page/post as needed.
- As always, we recommend testing when logged in as admin. We will show any errors to admin users only under the form.
If you any issues/bugs reports/feature reports please contact our support ([email protected]) or use our help form