Getting Started #
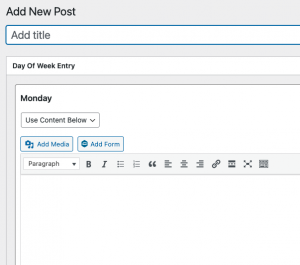
Creating a Day of Week Pro entry is the same as creating a new page or post. After clicking on the “Day of Week Pro” in the menu sidebar, you will see a page that should look familiar. Click on “Add New” and you will see the creation page for your new entry.

For custom content, create an entry for each day of the week. If you wish to keep a day blank, leave it empty.
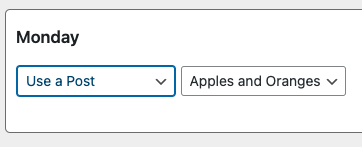
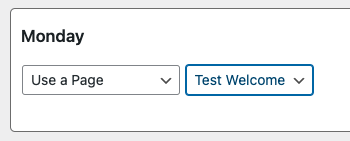
One of the extra features of Day of Week Pro is the ability to use a Post or Page to show on a specific day. To do this, just click on the drop-down below the Day (The default is “Use Content Below” and you will see the ability to select a Post or Page.
Pages or posts built with site editors such as Divi etc. should work fine, the current known exception is Elementor. They store the data differently. We are adding support for Elementor pages, so please check back soon.


Only Posts or Pages that are published are visible. Previews, hidden and rights protected will not be selectable. This may change on a later version.
Options #
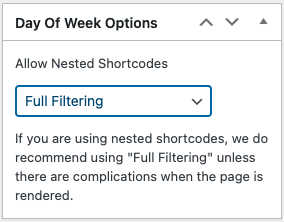
If you are using a shortcode for another plugin inside the custom content, you will need to select one of the options on the right to allow Day of Week Pro to be able to parse the shortcode and grab that data.

None #
This will output your custom content and any shortcodes you have added to the custom content will NOT be output. This is default and renders a page faster.
Full Filtering (recommended) #
This will fully render your custom content, including any other plugin shortcodes.
Nested Shortcodes Only #
If you see odd rendering results with “Full Filtering”, select this option. It will render out shortcodes but is not as inclusive in what it renders. We only recommend this as a last resort and may remove this option in later updates.
Once you have completed the post, click on “Publish”. To show your content, use the shortcode. Details can be found here.

